This recipe involves egg whites whisked until they’re fluffy. I’m lucky enough to have a KitchenAid stand mixer with a stainless steel bowl, which does an incredible job. Raw egg whites work best, but I had success using pasteurized egg whites from a carton. One large egg yields about 33 grams of egg white, so I rely on my kitchen scale to measure how much to use. They might not fluff up as much as raw egg whites, so ensuring they are at room temperature and adding ½ teaspoon of cream of tartar is crucial.
Blooming four packets of gelatin in so little liquid poses a challenge. Maximizing the surface area of water allows more liquid to be absorbed by the gelatin granules. Instead of using a wide and shallow container like a pie plate, I solved this problem by thinking three dimensionally. I bloomed the gelatin in layers! Half the gelatin in half the water used for blooming, done in two steps using my 4 cup Pyrex measuring cup. I know this sounds complicated, but it actually makes things much easier.
The marshmallow flavoring is completely optional, but it significantly improves the end product. I make these really sweet, but I don’t cover the outside with powdered erythritol. If you do, cut back on the powdered erythritol mixed in the gelatin. BTW, I experimented by coating marshmallows with coconut flour. It doesn’t taste like a marshmallow, but it’s really good!
Spoiler alert: Don’t attempt to freeze these marshmallows as-is. It won’t work. Rocky Road ice cream will have to wait. There’s too much moisture for them to freeze without getting frosty even if glycerine is added. I’ll try drying these out before freezing and see how it turns out.
UPDATE 2014-09-04: I increased the amount of erythritol and decreased the EZ-Sweetz. I also recommend allowing the marshmallows to get a little stale in the refrigerator after they’ve been cut up.
CAUTION: Consuming raw eggs may increase your risk of foodborne illness.
Ingredients
4 packets unflavored gelatin
1 cup cold water, divided (see below)
2 teaspoons vanilla extract
½ tablespoon Truvia
21 drops EZ-Sweetz
1 cup (114 g) powdered erythritol
10-12 drops marshmallow extract (Optional)
4 large egg whites or 132 g pasteurized egg whites
½ teaspoon cream of tartar
Directions
Note: These instructions were written under the assumption you have two electric mixers. (A stand mixer with metal bowl is ideal for whipping egg whites.) If not, skip the electric mixing of the gelatin and use a spoon instead.
- Pour the egg whites into a completely clean glass or metal mixing bowl and set aside. The egg whites should be room temperature before continuing. No fat, including egg yolk, can be present in the bowl, whisk/beaters, or on the utensils. Separating eggs must be done with care; even a tiny bit of yolk will spoil the whole batch.
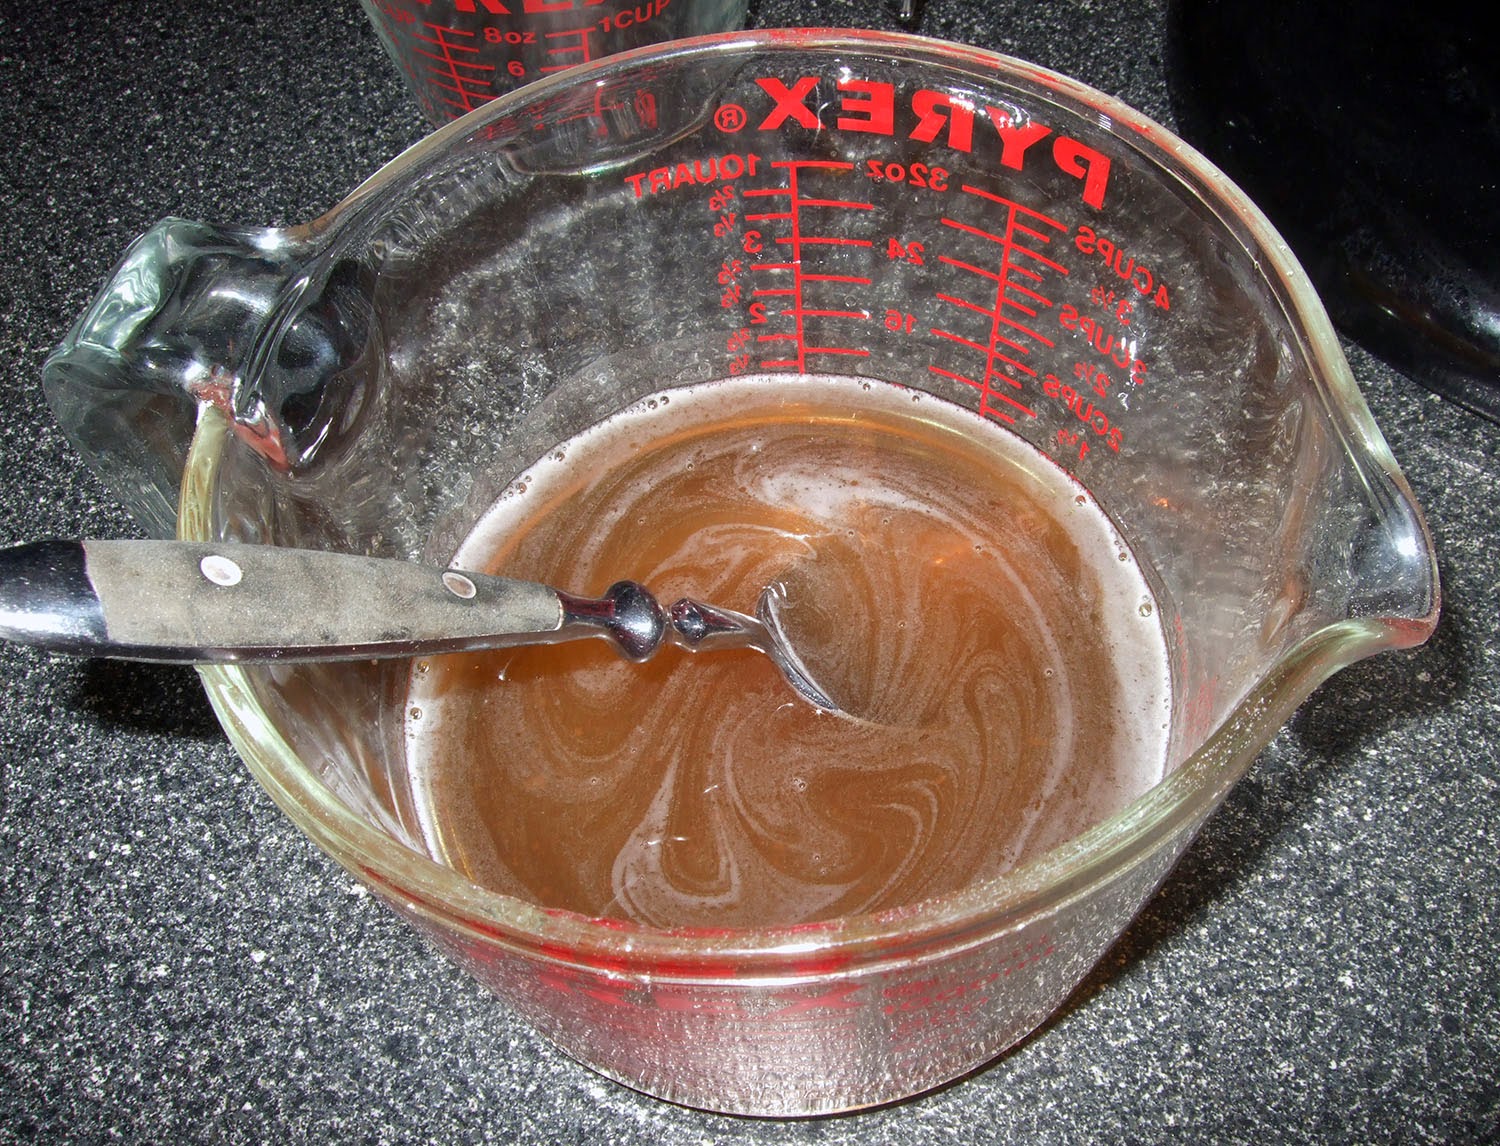
- In a 4 cup Pyrex measuring cup, add ¼ cup of cold water. Sprinkle the contents of two gelatin packets on the water. Gently shake the measuring cup to get all of the powder wet. Wait until all the water is completely absorbed and gelatin stiffens. Add another ¼ cup of cold water and sprinkle the remaining two gelatin packs on top. Gently shake the measuring cup to get all of the powder wet. Let it sit until all the water is completely absorbed.
- In a 1 cup Pyrex measuring cup, add ½ cup of water and microwave until the water begins to boil rapidly (approximately 2 minutes). Pour the boiling water into the 4 cup Pyrex measuring cup and let it sit for a minute.
- Add powdered erythritol, Truvia, EZ-Sweetz, vanilla extract, and marshmallow flavoring and mix on medium with a hand mixer. Let it sit while preparing the egg whites.
- Add cream of tartar to egg whites and whisk at high speed. Stiff peaks will begin to form.
The center will have really stiff peaks, but the edges aren’t stiff enough. Stop the mixer and scrape the sides down with a silicone spatula.
When the whole thing is uniform, then it’s ready.
- Put the gelatin mixture in the microwave for 30 seconds to ensure it hasn’t cooled down too much. Remove from the microwave and use the hand mixer at maximum speed to ensure the heat is spread evenly. The gelatin mixture should be foamy. Air in the gelatin will help it integrate with the egg whites better and hopefully resist separating to the bottom of the pan when it cools.
- While whisking the egg whites at maximum speed, slowly pour in the gelatin mixture. Don’t pour all the gelatin in one spot. Pour it around the bowl. The egg white mixture will begin to expand. When all of the gelatin has been poured in and it stops rising (should take less than ten seconds), STOP WHISKING! If you wait too long, the gelatin will harden too much and the mixture will congeal and collapse.
- Immediately remove from the mixer and pour into a 9” x 9” silicone pan and put in the refrigerator to chill for 30 minutes or longer.
- Use a silicone spatula to unstick the marshmallow from the sides of the pan. Flip the pan over and dump out onto a cutting sheet. Cut into 64 pieces.
Note: If the gelatin hardened in the egg whites too much, it may not be ruined. Dump it into the silicone pan and put the pan in the microwave for 15 seconds, then stir. Repeat until it’s smooth again. Don’t overcook.
 Sugar free marshmallows are very easy to make and are practically carbohydrate, fat, and calorie free. I based my recipe on the one from


No comments:
Post a Comment